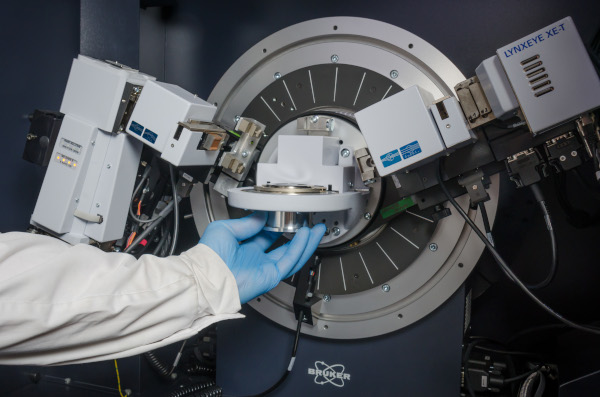
XRF
The examined component is subjected to an X-ray beam directed perpendicularly to the object (2D) and the detector is then placed behind the object or multidirectionally (3D) and a tomographic image is obtained in this arrangement.
2D radiographic examinations of castings, welds, parts and components made of various materials are carried out. Thanks to a team of specialists and state-of-the-art equipment, it is possible to carry out radiographic examinations of components of various sizes and materials. This ranges from the examination of very small components using an industrial tomograph, with which digital X-rays can also be taken, through examinations using X-ray tubes and digital DDR detectors, to radiographic examinations of large, dense objects (up to 300 mm of steel) using a Lillyput linear accelerator as an X-ray source.
Radiographic testing is one of the most popular and effective non-destructive testing (NDT) methods. They are used today in many areas of industry, agriculture or scientific research. They are used very widely in quality control, making the internal structure visible, including, for example, defects such as cracks, discontinuities, gas bubbles, porosity, impurities, etc. Objects made of a wide variety of materials such as metal alloys, plastics, rubber, ceramics, wood, concrete and others can be subjected to radiographic examination.
Industrial computed tomography (CT) is a non-destructive (3D) method of examining the internal structure of objects. It can be an excellent tool for quality control of products and parts. It makes it possible to analyse objects made up of a wide variety of materials from biological tissues to minerals, ceramics, plastics and metals and their alloys.
When scanning the smallest samples, a spatial resolution of a few micrometres can be achieved (microtomography). The machine is equipped with three different X-ray tubes, making it possible to scan both small objects with high resolution and larger objects where higher-energy radiation is required. The maximum diameter of an object that can be tomographed is approximately 30 cm, while it is possible to scan larger objects in fragments and virtually assemble them into a single file. Tomography makes it possible to:
- analysis of the structural regularity (dimensions, joints, porosity, permeability...);
- analysis of damage and defects (cracks, discontinuities, inclusions, etc.);
- wear analysis;
- reverse engineering, allows the collection of the complete geometry (internal and external) of the workpiece. With the help of the software, it can be transformed into a virtual CAD (Computer-aided Design) model. This can be used to find deviations and defects in the copy compared to the master part/CAD model. Deviations are shown in 3D images, using different colours, depending on their size and direction. The CAD model can also be used to produce spare parts not available on the market.
